Creating a Remult Project
The easiest way to start building a Remult app
npm init remult@latestYes, that's it!
TIP
Let us know how you liked the process! @remultjs
Demo

What you get ?
1. Tailored Setup
Answer a few questions about your preferred tech stack and project requirements.
Project name: The name of your project (it will create a folder with this name)
Choose your Framework
Choose your Web Server (if needed)
Choose your Database
Authentication: Do you want to add auth.js to your project directly ? including a complete implementation for credentials and github providers
Add CRUD demo: A comprehensive example of how to use an entity. It will show you how to create, read, update and delete data.
Admin UI: Will then be available at /api/admin
2. Instant Configuration
Based on your answers, Remult will configure the project with the best-suited options. With all combinations of frameworks, servers, databases and authentication, we manage more than 180 different project flavors! We are missing yours? Let us know !
3. Feature-Rich Demo
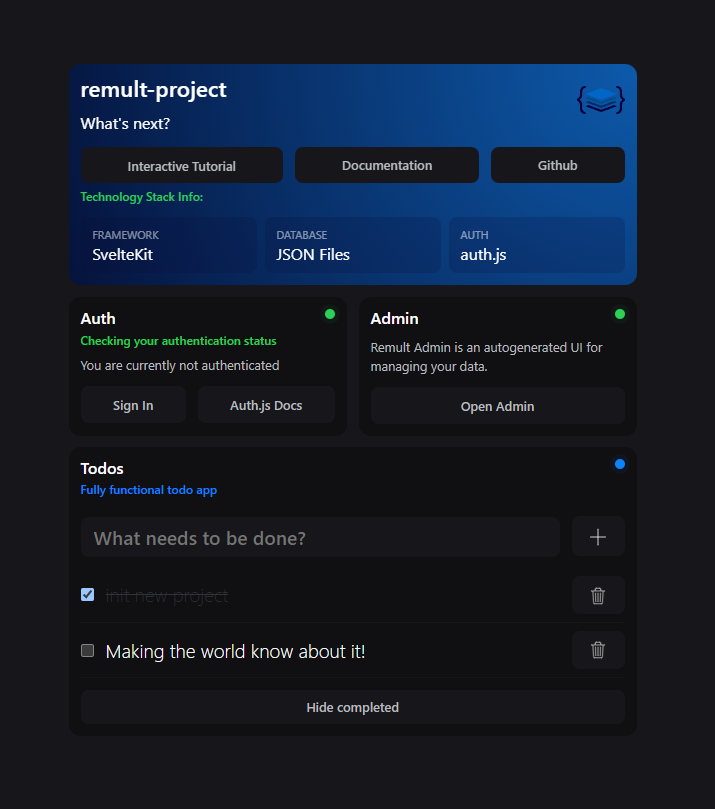
Once you run your project, you'll be greeted with a comprehensive dashboard that showcases all of Remult's powerful features. It will look like this:

Each tile is a fully functional example of a feature that you selected.
4. Easy Eject
Simply remove the demo folder to eject the demo components.